12 Days of Christmas – Day 8

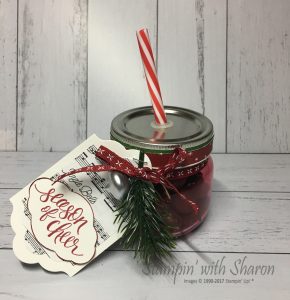
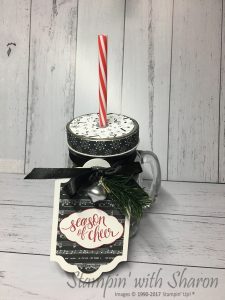
Wow, these days are flying past.  Day 8 already.  Here is another cute project for someone that you may have forgotten about, whoops!

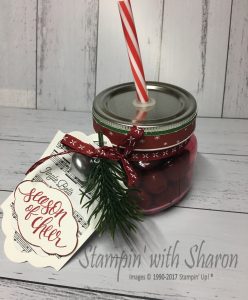
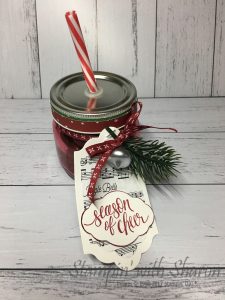
It is a jar with lid from Kmart again and I’ve used the Green Sprig, Mini Ornament, Cherry Cobbler stitched ribbon, Merry Music DSP and added a bit of contrast with the Be Merry DSP around the Lid.


Product List


12 Days of Christmas – Day 5

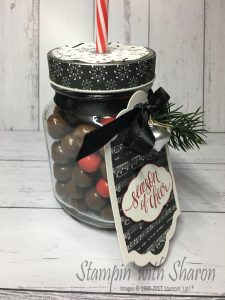
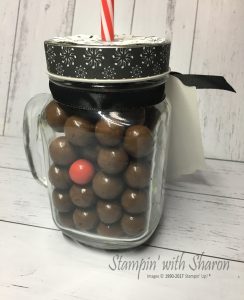
For my Day 5 project I made up a jar with “Reindeer Noses” inside which are Malteasers and Jaffas. Its a cute little project that anyone would love.  A great gift for kids too though maybe a bit too much chocolate.

I’ve used the Merry Music Specialty Designer Series Paper, Green Sprigs, Mini Ornaments & Black Shimmer Ribbon and purchased the glass jar from Kmart.

I’ve listed all the products used at the bottom of this post.

Product List

12 Days of Christmas – Day 4

The 12 Days of Christmas continues with the this gorgeous project.

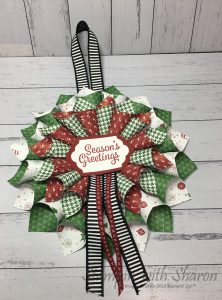
This is a gorgeous paper wreath that I’ve seen on different Facebook pages and so I have made my own to go on my front door.  I just love the colours of Cherry Cobbler & Garden Green together.  They really are great Christmas Colours.  I added the Black Striped Ribbon to add some more contrast and added in the Cherry Cobbler Stitched ribbon.

I have used the sentiment from Snowflake Sentiments and cut it out with the Lots of Labels Framelits.


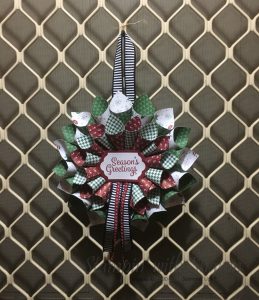
And here is it on my Front Door.  I was concerned that with some of the rain that it may get damaged or with the sun that it will fade but, as my husband said, you can make another next year.  Well why not make another one next year 🙂

I have included a video of how to make this project as well so you can make one at home. Or you can contact me to find out how to make it.


Product List


Trim Your Stocking Thinlits by Stampin’ Up!

Trim Your Stocking Thinlits by Stampin’ Up!

Watch Stampin’ Up! trainer, Holly, show you how to use the Trim Your Stocking Thinlits Die from the 2017 holiday catalogue.


Product List

Bone Folder

$12.00

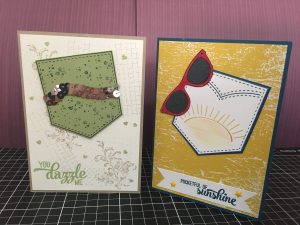
Pocketful of Sunshine – Part 1

At Stamp Camp there are presentations of techniques or stamp set spotlights. We get the opportunity to see new techniques and be inspired. This years presentations were on bleaching, embossing paste, faux silk, Retiform or Block technique.

The last presentation was by me and I did a Spot light on a stamp set called Pocketful of Sunshine (143719 $30.00) and matching Framelits (143750 $41.00).  You can save 10% if you buy these two items as a bundle (145345 $63.75)

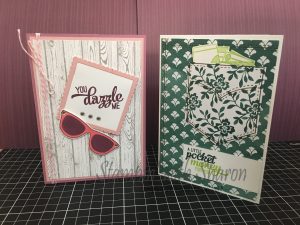
I started making samples early and searched Pinterest to see what inspiration I could get.  I made these cards after being inspired. 
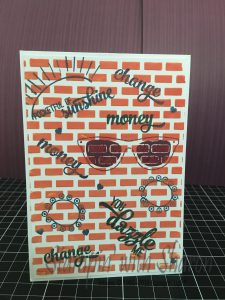
Then I wanted to use some of the Embossing paste to create a wall and create a graffitti wall with the stamps.
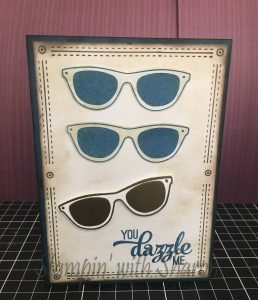
While at Stamp Camp I was told about a card similar to the one below.  I used gold embossing powder for the bottom glasses.
If you’d like to purchase this stamp set or framelits, you can contact me.
My Swap for OnStage Brisbane

When we go to any event with Stampin’ Up! we are encouraged to make swaps to share our designs with others.  We usually make a card front and have the recipe of ingredients listed on the back so other demonstrators can be inspired.

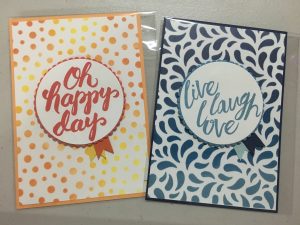
I used Pinterest for some inspiration along with a card that my upline Marelle Taylor made.  I used the new sponge brayers and the Seasonal Decorative Masks to make the backgrounds.

I used the new Layering Circle Framelits for the sentiment and the words were from two stamp sets, Scenic Sayings & Layering Love.

img_8810

I enjoyed making these two cards.  The card on the left I brayered randomly with different inks.  The card on the right I just brayered in ombre design.  I hope you like them.

Star of Light

Since the new Holiday Catalogue came out I haven’t had the time to play with the new products that I ordered.

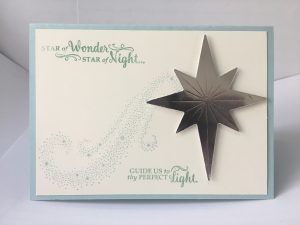
Today I had the time to just sit and play with some new gorgeous products.  When I first saw the Star of Light Stamp Set I knew I had to have it.  It is a beautiful stamp set with some great versatility.  And then you pair the stamps with the matching Starlight Thinlits and you have a magical combination.

star-of-light

I used a Soft Sky card base, stamped on a Very Vanilla card stock.  Cut out the Star out of Silver Foil Sheets and then stamped in Mint Macaron & Soft Sky.