12 Days of Christmas – Day 8

Wow, these days are flying past.  Day 8 already.  Here is another cute project for someone that you may have forgotten about, whoops!

It is a jar with lid from Kmart again and I’ve used the Green Sprig, Mini Ornament, Cherry Cobbler stitched ribbon, Merry Music DSP and added a bit of contrast with the Be Merry DSP around the Lid.


Product List


Watercolour Christmas Project Kit

The Watercolor Christmas Project Kit is in the new Holiday Catalogue and has the materials to make 20 cards, 5 each of 4 designs. There is a matching stamp set to go with this kit, Watercolor Christmas.

I haven’t yet purchased the Watercolor Christmas Stamp set  and so I wanted to see if I could use a different stamp set for the sentiments as a substitute.  After all, sometimes we have our favourite sentiments that we want to use.  I used the Snowflake Sentiments stamp set instead and loved how the cards turned out. You could also use the Oh, What Fun stamp set as well and really any other sentiment stamp set that you own.  The Watercolour Christmas Project Kit is really quite versatile and you can adapt any stamp set that you wish.

Below is a video produced by Stampin’ Up! on the kit and how to assemble the cards.


And finally I have included a video by a US demonstrator, Rachel Tessman from Stamp your Art Out, that explains how you can create double the cards from one kit.


Pocketful of Sunshine – Part 3

The pocketful of sunshine stamp set presentation continues.

I wanted to make a sampler and experiment with all the stamps that were in the set so created this sampler.  I took some photos of my girls hamming it up in their sunnies.
I’ve used the Color Theory paper stack in conjunction withe the stamp set.
I really love how this turned out.  I just need to get the hubby to put it up on the wall for me.

The last project I made was this banner.  When I saw the pocket stamp I knew it would be great to create a banner with it and combine it with the alphabet stamp set.  The colours I used were Dapper Denim, Crushed Curry, Old Olive & Berry Burst.

Pocketful of Sunshine – Part 2

Continuing on from my last post I wanted to share some more projects that I’ve made to present at Stamp Camp using the Pocketful of Sunshine Bundle.

This next project is a gift card holder for Fathers Day.  I made a belly band to hold it closed.  It is fairly simple.

This next project is a christmas card that I made while at Stamp Camp using the pocket framelit.  The sentiment is stamped onto the money shape that is in the framelits dies.  I thought it was a cute way of using it.

This next project is using the pocket die and I used a 1″ strip of DSP to make it into a pocket and used ribbon as the handle.

This next project is using the new mini pizza boxes and I used the sun shape to cut out the window with the sun rays.

All of these projects are fairly easy to recreate and if you’d like to make them yourself then get yourself the Pocketful of Sunshine Bundle and get creating.

Pocketful of Sunshine – Part 1

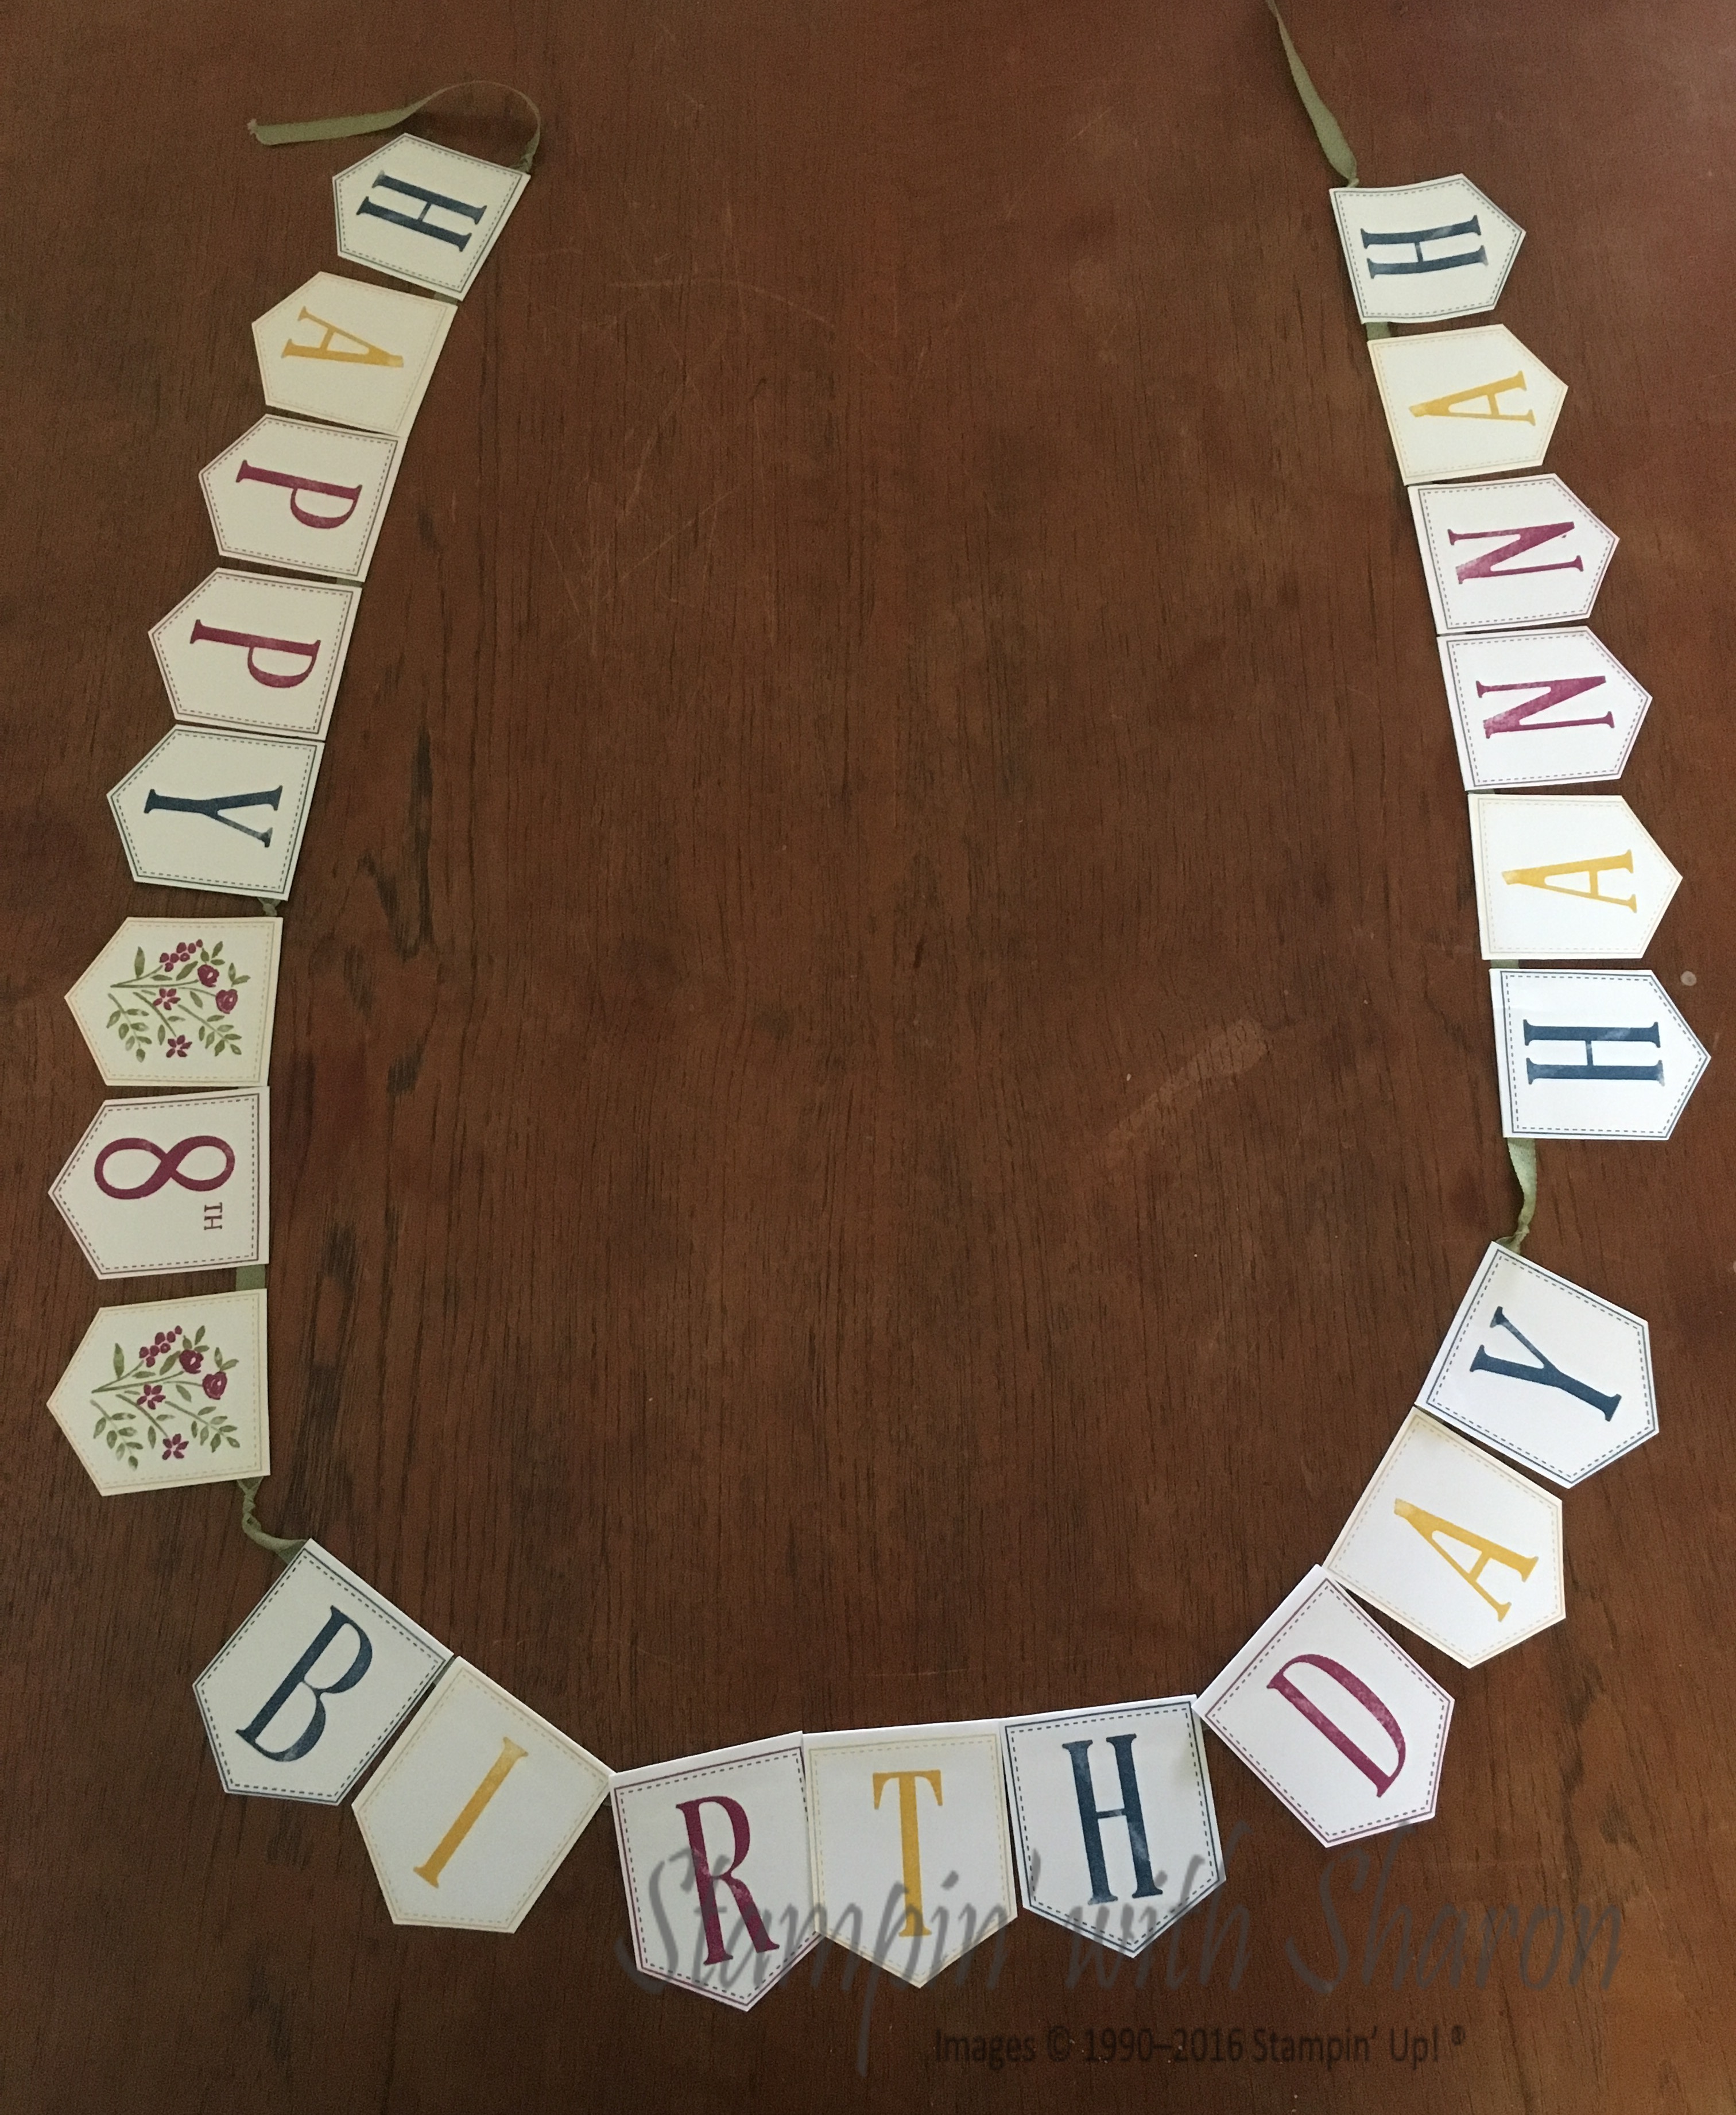
At Stamp Camp there are presentations of techniques or stamp set spotlights. We get the opportunity to see new techniques and be inspired. This years presentations were on bleaching, embossing paste, faux silk, Retiform or Block technique.

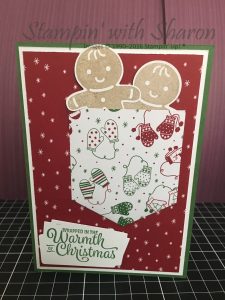
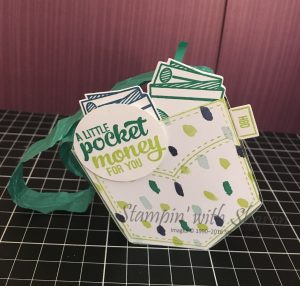
The last presentation was by me and I did a Spot light on a stamp set called Pocketful of Sunshine (143719 $30.00) and matching Framelits (143750 $41.00).  You can save 10% if you buy these two items as a bundle (145345 $63.75)

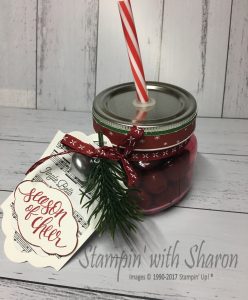
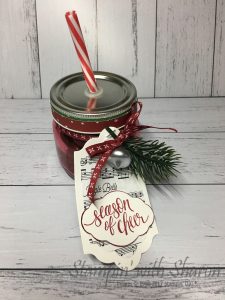
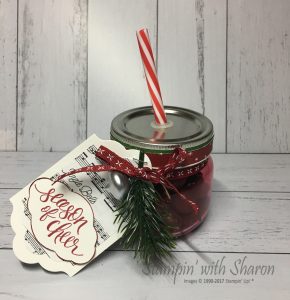
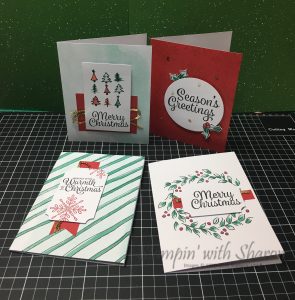
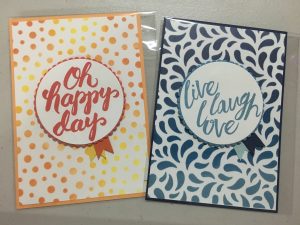
I started making samples early and searched Pinterest to see what inspiration I could get.  I made these cards after being inspired. 

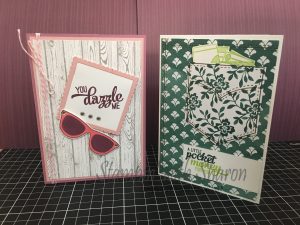
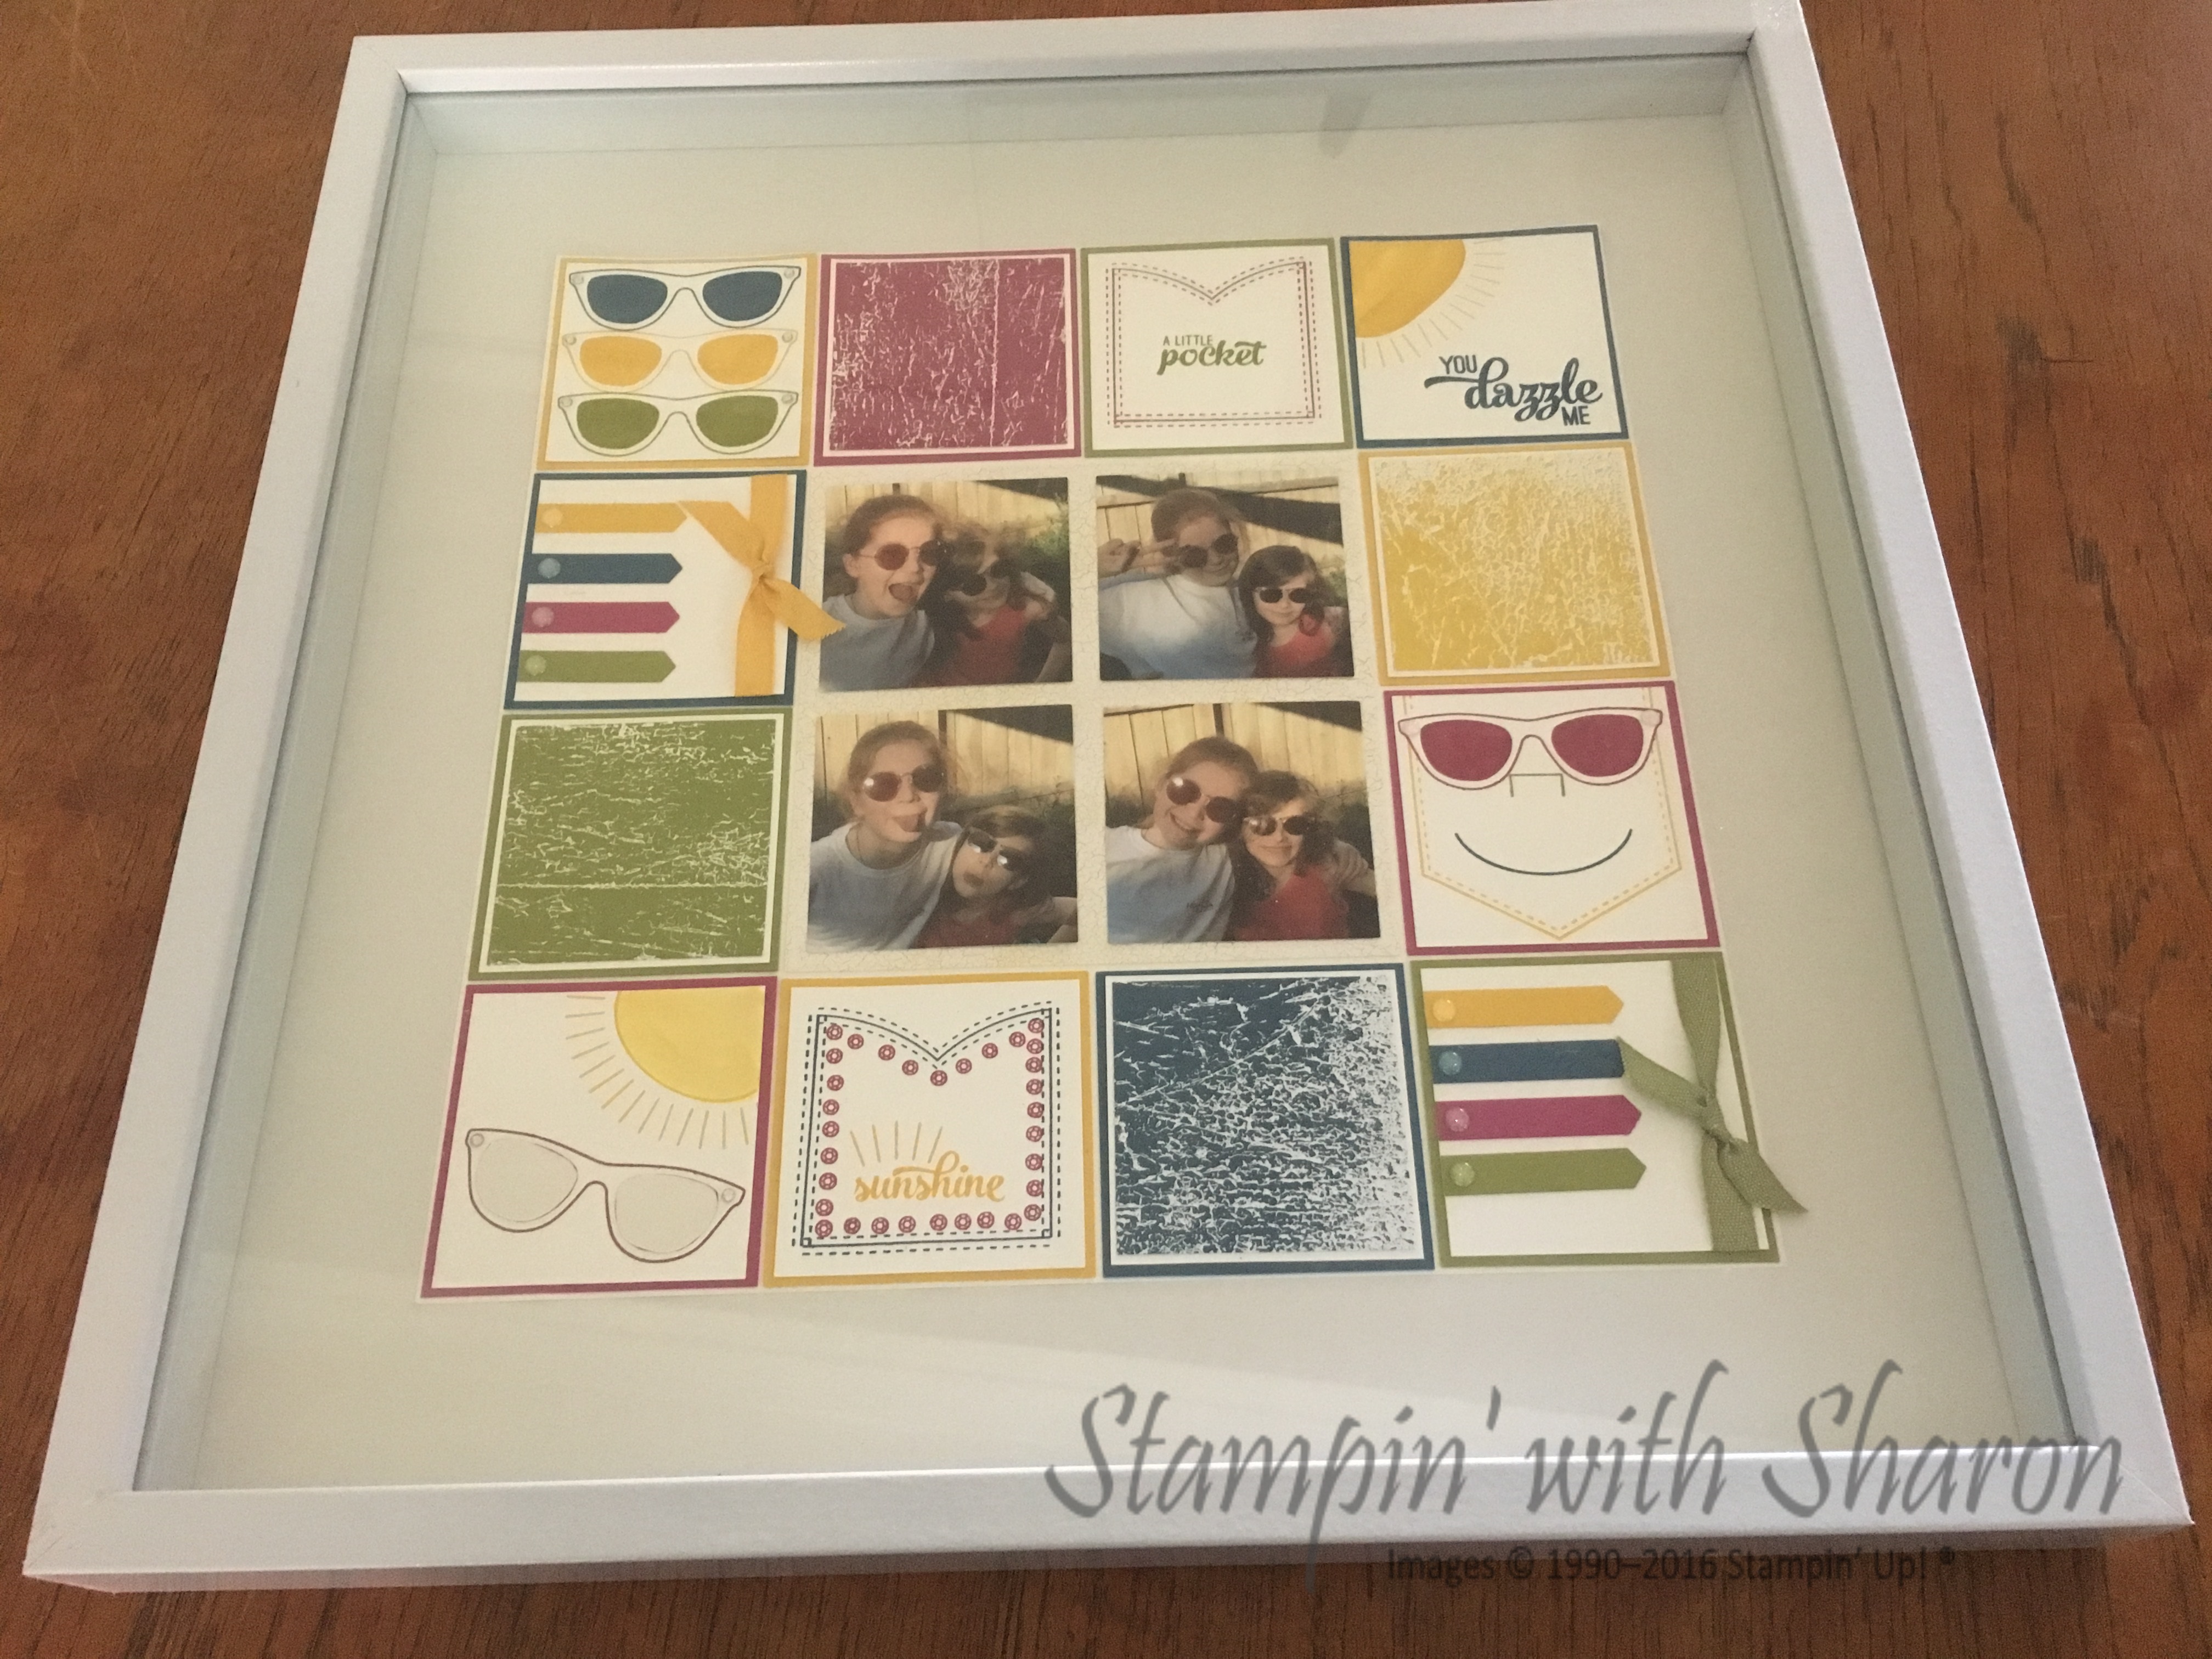
Then I wanted to use some of the Embossing paste to create a wall and create a graffitti wall with the stamps.

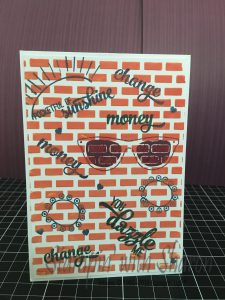
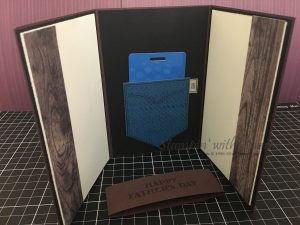
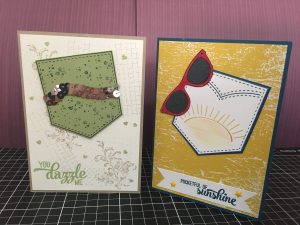
While at Stamp Camp I was told about a card similar to the one below.  I used gold embossing powder for the bottom glasses.

If you’d like to purchase this stamp set or framelits, you can contact me.

Double Flap Picnic Basket

I was looking for a box to put some little goodies in as a gift and came across a great tutorial from Crafty Caroline in the UK.

I made the picnic basket & love it.  It is a little fiddly putting the lid on and putting the split pins on but I love how they turned out.  I’ve used up some lovely designer series paper and a good way to use up your retiring products.  The split pins are no longer available from Stampin’ Up! but I’m using up my stock of them.

Here is the video tutorial for the box.  I hope you will enjoy making this box as much as I did.  Don’t forget that the retirement list is out and selling fast so go online to my shop and grab yourself a bargain as some items are up to 50% off

My Swap for OnStage Brisbane

When we go to any event with Stampin’ Up! we are encouraged to make swaps to share our designs with others.  We usually make a card front and have the recipe of ingredients listed on the back so other demonstrators can be inspired.

I used Pinterest for some inspiration along with a card that my upline Marelle Taylor made.  I used the new sponge brayers and the Seasonal Decorative Masks to make the backgrounds.

I used the new Layering Circle Framelits for the sentiment and the words were from two stamp sets, Scenic Sayings & Layering Love.

img_8810

I enjoyed making these two cards.  The card on the left I brayered randomly with different inks.  The card on the right I just brayered in ombre design.  I hope you like them.