12 Days of Christmas – Day 6

Day 6 of my 12 Days of Christmas Series.  Half way!

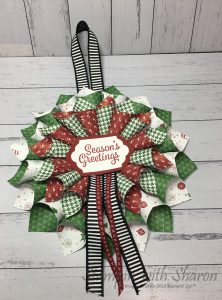
This little project is sweet.  It is some Christmas decorations.  These come in a kit of 12 so you could make them all up and put them on your Tree or hang them up around the house or even use them as a gift tag to put on your presents to give to family.

They are fairly easy to make and I’ve used a hot glue gun but you can use Tombow Multipurpose glue as well if you don’t have a hot glue gun handy, it just takes a little while longer to dry.
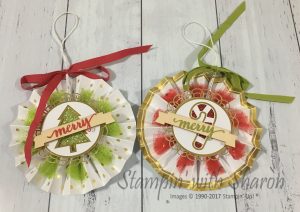
I’ve included a great little video from Stampin’ Up! that shows great tips and tricks on how to assemble these gorgeous rosettes. This kit won’t be around for long as it retires on the 2nd January, 2018 and may sell out before then. So get your order in quick at my online shop and use hostess code 9CW4T7QD to get an extra little thank you gift from me.

Product List

Be Merry Kit

[144648]
$33.25

Glue Dots

[103683]
$8.00

Bone Folder

[102300]
$12.00

12 Days of Christmas – Day 5

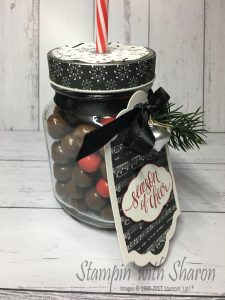
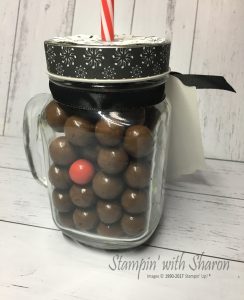
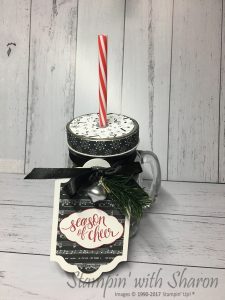
For my Day 5 project I made up a jar with “Reindeer Noses” inside which are Malteasers and Jaffas. Its a cute little project that anyone would love.  A great gift for kids too though maybe a bit too much chocolate.

I’ve used the Merry Music Specialty Designer Series Paper, Green Sprigs, Mini Ornaments & Black Shimmer Ribbon and purchased the glass jar from Kmart.

I’ve listed all the products used at the bottom of this post.

Product List

12 Days of Christmas – Day 4

The 12 Days of Christmas continues with the this gorgeous project.

This is a gorgeous paper wreath that I’ve seen on different Facebook pages and so I have made my own to go on my front door.  I just love the colours of Cherry Cobbler & Garden Green together.  They really are great Christmas Colours.  I added the Black Striped Ribbon to add some more contrast and added in the Cherry Cobbler Stitched ribbon.
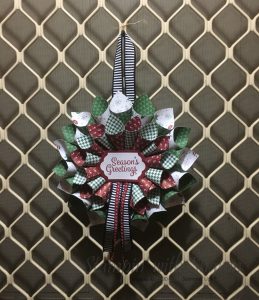
I have used the sentiment from Snowflake Sentiments and cut it out with the Lots of Labels Framelits.


And here is it on my Front Door.  I was concerned that with some of the rain that it may get damaged or with the sun that it will fade but, as my husband said, you can make another next year.  Well why not make another one next year 🙂

I have included a video of how to make this project as well so you can make one at home. Or you can contact me to find out how to make it.


Product List


12 Days of Christmas – Day 1

Welcome to the first post of my 12 Days of Christmas Series.
I wanted to created 12 projects that you can make yourself with Stampin’ Up! products that are cheap and easy.

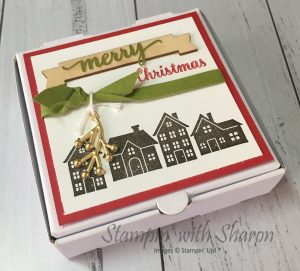
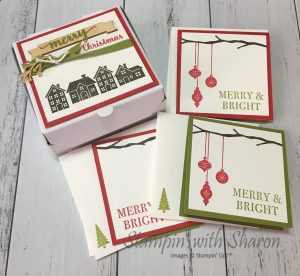
I make this cute little pizza box with matching cards and envelopes. The cards and envelopes are 3″x3″ and are great for on top of christmas gifts or for your kids to write in for their friends.

I have used a few stamp sets on this project but the one that stands out is the “Hearts Come Home”. It is a gorgeous little set with cute houses, Santa flying with his reindeer and some lovely sentiments. I have used elements from the Be Merry Rosette Kit along with the branch from Colorful Seasons stamp set. I added an embellishment from the Year of Cheer Embellishments. The christmas baubles are from the Carols of Christmas Stamp set.

The Pizza Boxes are super cute too and I am hoping that they may carry over into the next catalogue but we won’t know till later in the month. So if you love these boxes as much as I do, then don’t wait another minute, go to my online shop and order them today.


Product List

Be Merry Kit

$33.25

Children’s Craft Course

Over the last 6 weeks I have held a craft course for kids. I have had 4 girls attending ranging from year 1 through to year 6.  The girls have all enjoyed the course and have learnt a few techniques and some theory on papercrafts.  The course was over 7 weeks during the school term.  We have 1 more week to go.

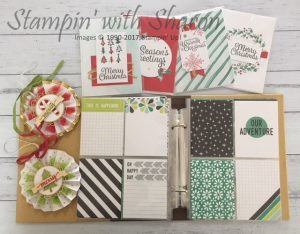
They have been able to make a Scrapbook Album with 12 double sided pages, 8 Christmas cards & in the final week they will make two Christmas rosette ornaments.

This was the first time that I have conducted a craft course. I have held card classes for kids but never a course that they would build projects throughout the time.  I can honestly say that I have really enjoyed the time with the girls as well.  It has been lovely getting to know them and seeing their faces light up when they have created a project and that they are pleased with.

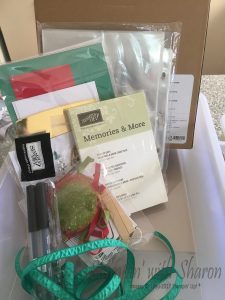
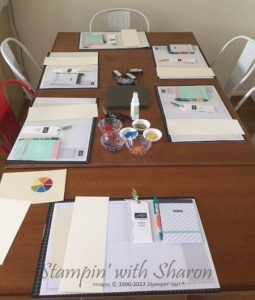
This is a photo of my first class.  I had a tray for each of the kids ready to go but kept them from the table till they were ready for each item.

Here are all the projects that they have made over the 7 weeks.

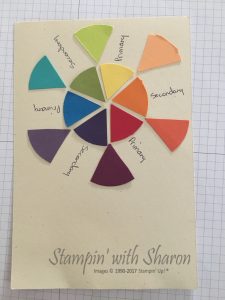
In the first class we talked about Colours including Primary, Secondary and Tertiary colours. They created their own colour wheel.

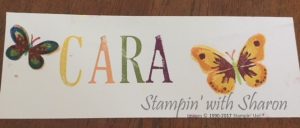
I challenged each of the girls to stamp their name using the colours that we had just spoken about and then challenged them to stamp a butterfly using the colours of their name. This was created by one of the younger students. She did very well.

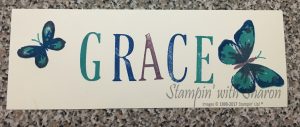
This was created by one of the girls in Year 6 who has had a lot more stamping experience. She loved these colours.

Trim Your Stocking Thinlits by Stampin’ Up!

Trim Your Stocking Thinlits by Stampin’ Up!

Watch Stampin’ Up! trainer, Holly, show you how to use the Trim Your Stocking Thinlits Die from the 2017 holiday catalogue.


Product List

Bone Folder

$12.00

OnStage Highlights

There are so many highlights but I can’t share them all with you.  I can say that there is something very exciting coming very soon.  Check back again on Friday this week.

On Saturday I had the opportunity to attend OnStage on the Gold Coast with one of my downlines and other team members including my fabulous upline.


We were given the new Occasions Catalogue and upcoming Sale-a-bration Catalogue.  They both commence on 3rd January 2018.

There are some fabulous new suites for birthdays, valentines day, weddings, Easter and more.

Our Stampin’ Blends are in the new Occasions catalogue as well.  So there is something for everyone.

You can check out all the products, when they are released, on my Stampin’ Up Website.