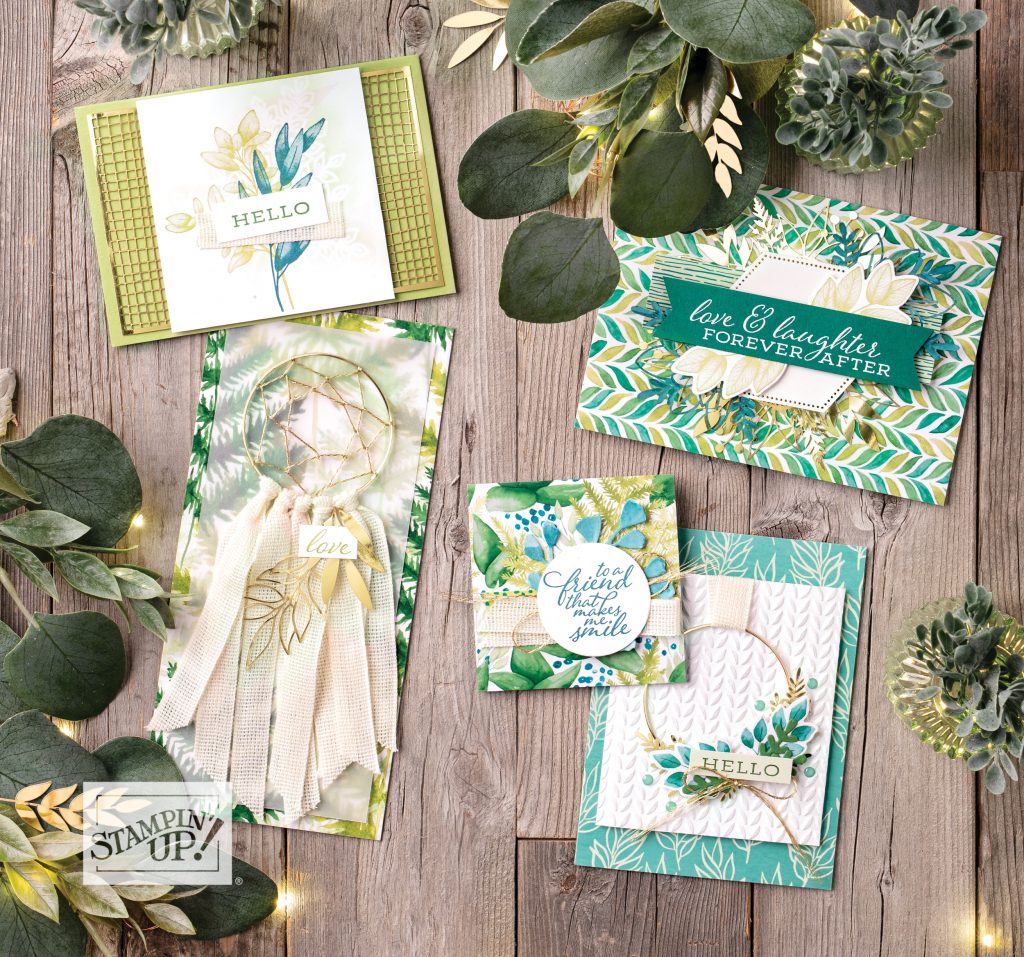
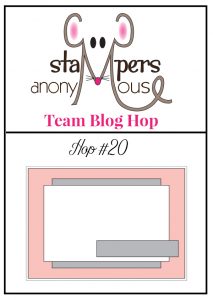
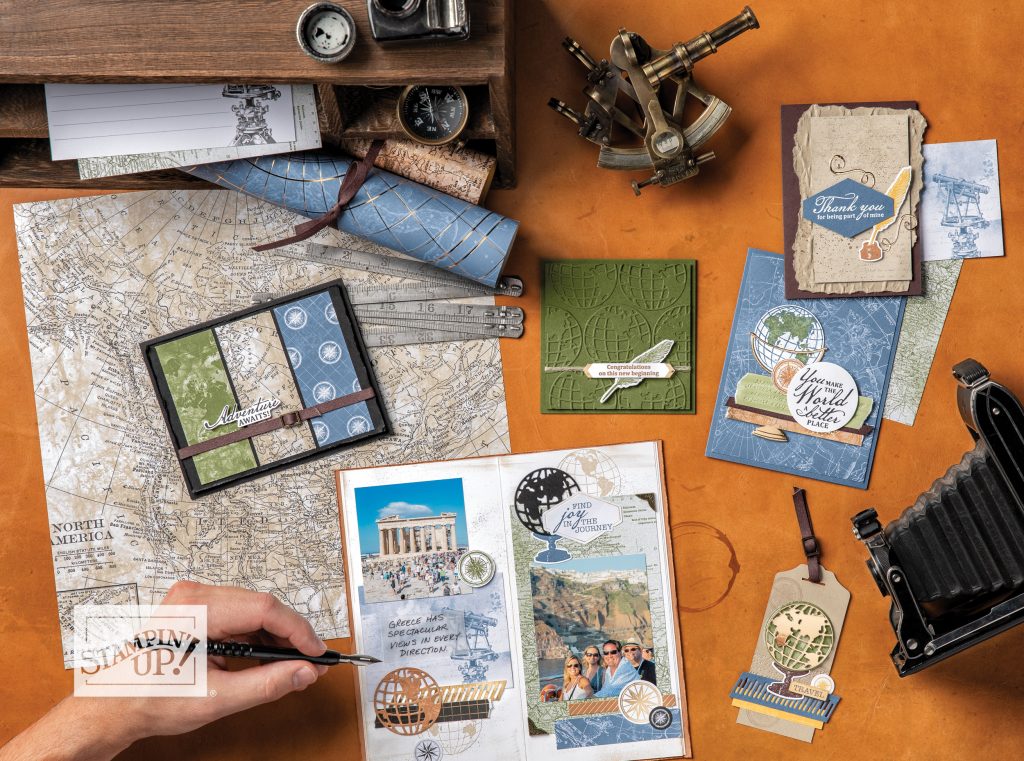
Welcome to the July Stampers Anonymous Team Blog Hop #20. You may have joined me from Melissa’s Blog or you have started here. This month’s Blog Hop is a layout challenge. I chose to showcase the World of Good Suite of products that I shared with you on Sunday.
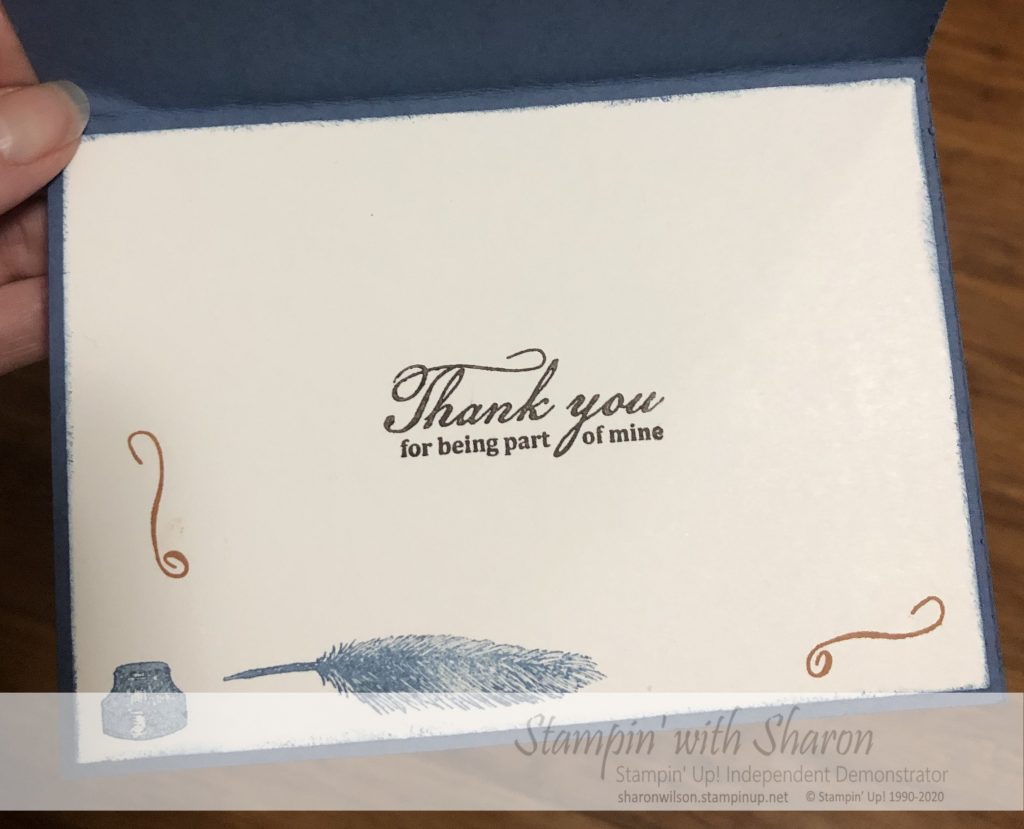
As the World of Good Suite has Misty Moonlight as one of its main colours I started with a Misty Moonlight card base and knew what I was wanting to stamp. I pulled out the World of Good Speciality Designer Series Paper and chose the pattern I wanted to add underneath. That led me to sponging in Cinnamon Cider ink and stamping the quill in cinnamon cider onto cinnamon cider card stock. I added the sentiment on the right side above the quill and I was very happy with the layout.
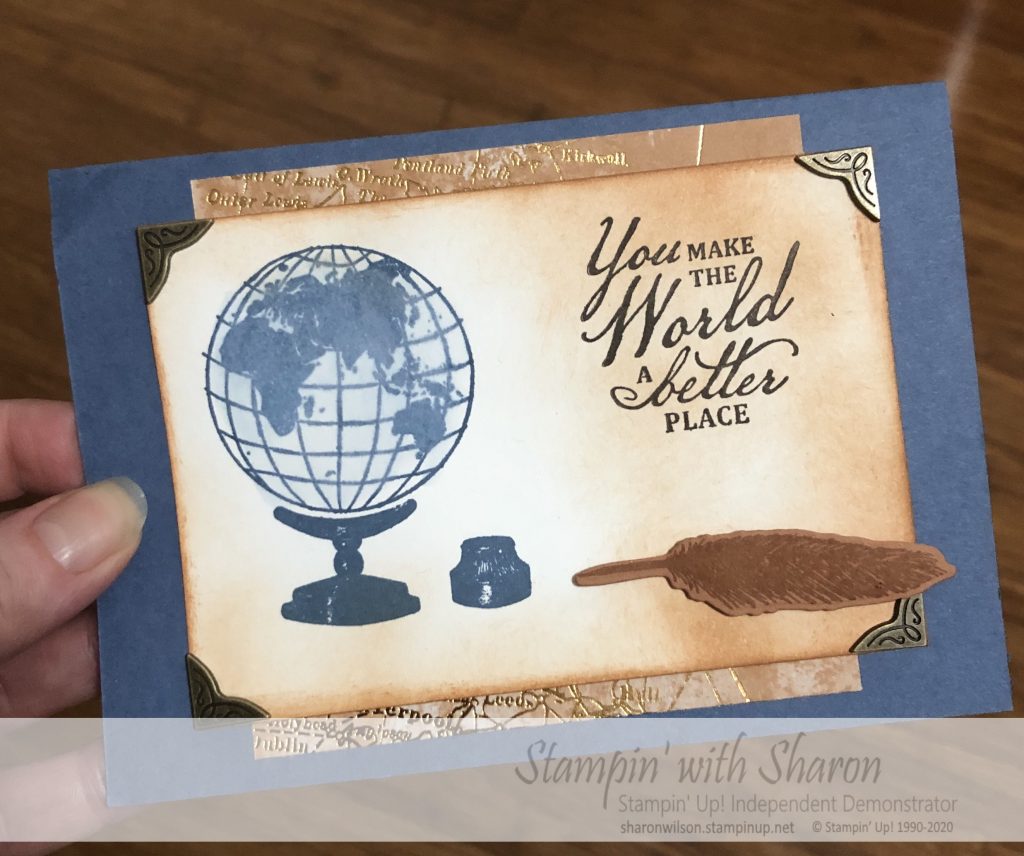
I started sponging the background and then using my brand new water painters, I dragged some of the Misty Moonlight ink around the globe. Feeling the card still needed somthing extra, I added the Antiqued Corners. Now you can go onto the next blog by clicking the Next Blog button or by clicking the button below for Kristy Davy. I hope you enjoy the July Stampers Anonymous Team Blog Hop #20 and all the creativity as these ladies have some amazing talent.


- Nikki Stalker
- Melissa Gifford
- Sharon Wilson – You are Here
- Kristy Davy
- Marelle Taylor
- Kylie Page
- Elizabeth Yager
 |  | ||
 | |||
 | ") |  | |
 |  |  |  |


")
")


 Faux Suede Trim")

")
")


 Shimmer Ribbon")
")


")
")

 Designer Series Paper")

")
 Sheer Ribbon")

")
")


")


")


")
")