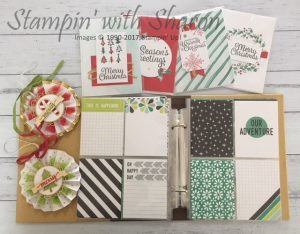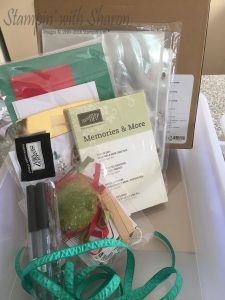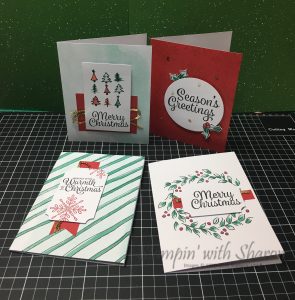
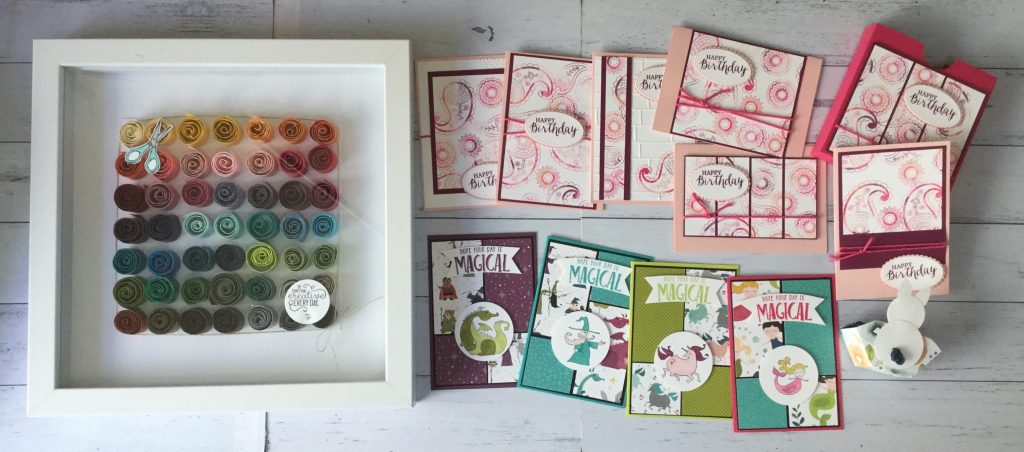
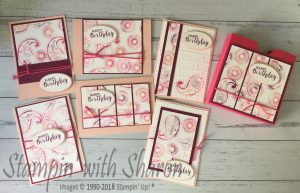
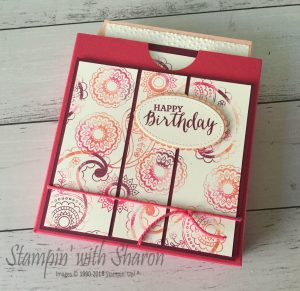
There’s lots to love in this all-inclusive card kit. Create all-occasion cards, then add your own color using the included Watercolor Pencils. Makes 20 cards, 4 each of 5 designs, using the included Lots of Happy Stamp Set! Visit stampinup.com to order yours today.
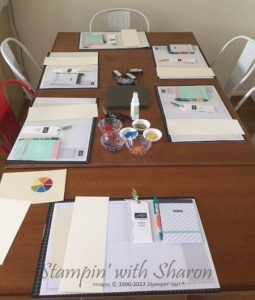
I am holding classes for this kit on 6th March. 10am & 7.30pm. If you purchase the full kit the class is free to attend. You can purchase your kit by using this link and use Hostess code M4FNXHRY – and you’ll get an extra gift waiting for you at the class. Just message me which class you’d like to attend and I’ll book you in.
Don’t forget that Sale-a-bration is on till the end of March so with any purchase of $90 or more you will get to choose a product FREE from the Sale-a-bration Catalogue.
Product List
|
|
|
|
|
|
|
|
|


")


 em.
em.