This past weekend I’ve been to our teams weekend away.
We have the most amazing upline that organises a fantastic weekend away for us. She needs to limit the numbers as we like to have some room to create.
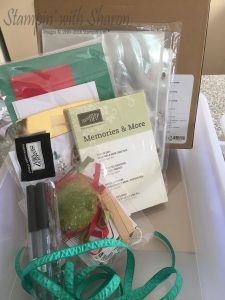
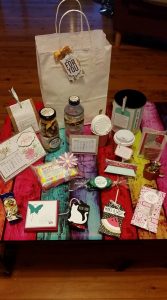
When we first arrive we are greeted with a bag of challenges to complete along with some extra goodies to get us through the weekend.
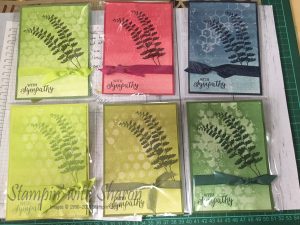
There are shoebox swaps to complete throughout the weekend as well. If you can’t get your mojo going the shoeboxes are a great way to be creative without the thinking. All the prep is completed and all you need to do is stamp and assemble.
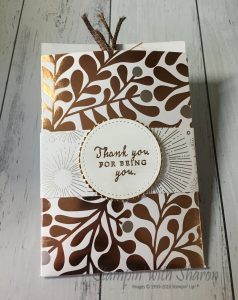
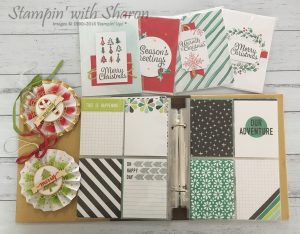
The challenges can be trickier. You are given some supplies and you need to create a project with them. You can add other things as well.
The worst part of the weekend is packing up and heading home. Though seeing the family again is great and always good to sleep in your own bed.
Below is a photo of all the Stamp Fairy gifts we received and the goodies we received when we first arrived.
It is a fantastic weekend away so if you would like the chance to come along next year, then sign up in my team and you could be joining us next year.


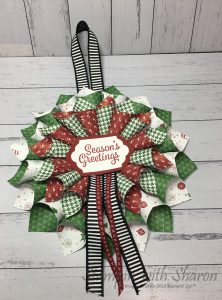 This is a gorgeous paper wreath that I’ve seen on different Facebook pages and so I have made my own to go on my front door. I just love the colours of Cherry Cobbler & Garden Green together. They really are great Christmas Colours. I added the Black Striped Ribbon to add some more contrast and added in the Cherry Cobbler Stitched ribbon.
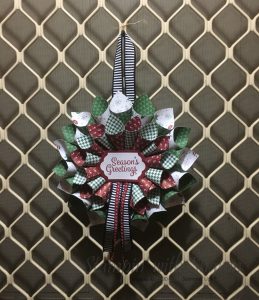


 Striped Ribbon")


 Envelopes")