Over the last 6 weeks I have held a craft course for kids. I have had 4 girls attending ranging from year 1 through to year 6. The girls have all enjoyed the course and have learnt a few techniques and some theory on papercrafts. The course was over 7 weeks during the school term. We have 1 more week to go.
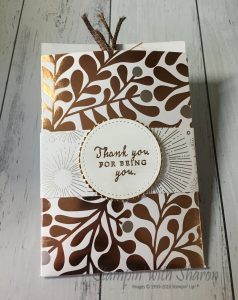
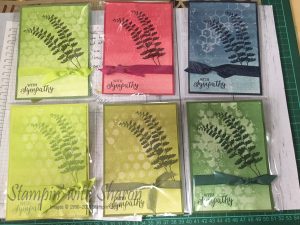
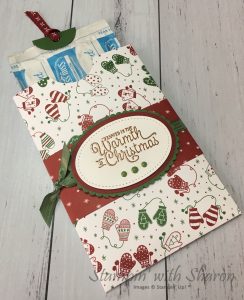
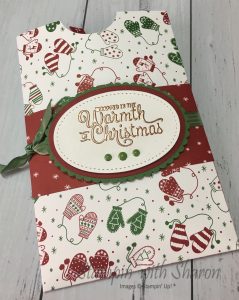
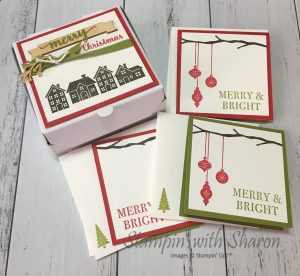
They have been able to make a Scrapbook Album with 12 double sided pages, 8 Christmas cards & in the final week they will make two Christmas rosette ornaments.
This was the first time that I have conducted a craft course. I have held card classes for kids but never a course that they would build projects throughout the time. I can honestly say that I have really enjoyed the time with the girls as well. It has been lovely getting to know them and seeing their faces light up when they have created a project and that they are pleased with.
This is a photo of my first class. I had a tray for each of the kids ready to go but kept them from the table till they were ready for each it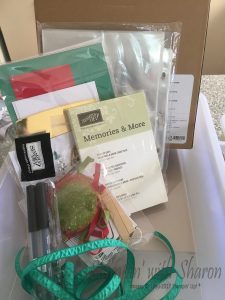 em.
em.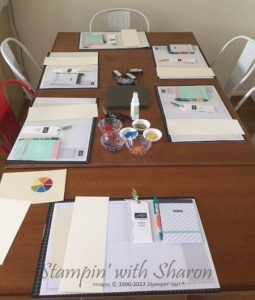
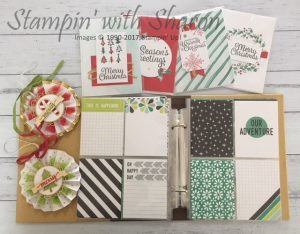
Here are all the projects that they have made over the 7 weeks.
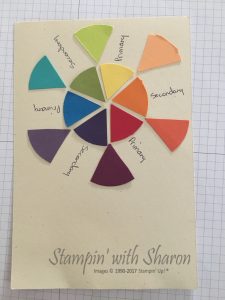
In the first class we talked about Colours including Primary, Secondary and Tertiary colours. They created their own colour wheel.
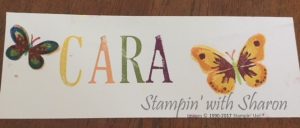
I challenged each of the girls to stamp their name using the colours that we had just spoken about and then challenged them to stamp a butterfly using the colours of their name. This was created by one of the younger students. She did very well.
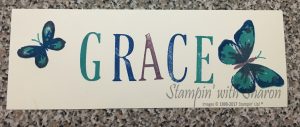
This was created by one of the girls in Year 6 who has had a lot more stamping experience. She loved these colours.


")


 Envelopes")