12 Days of Christmas – Day 8

Wow, these days are flying past.  Day 8 already.  Here is another cute project for someone that you may have forgotten about, whoops!

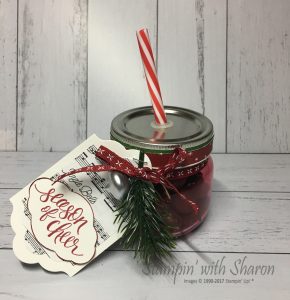
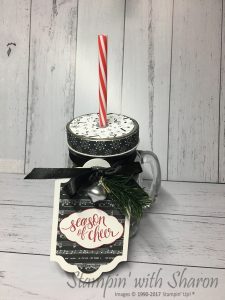
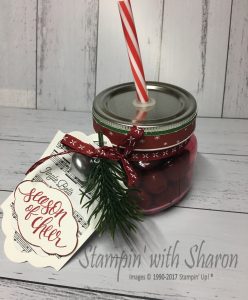
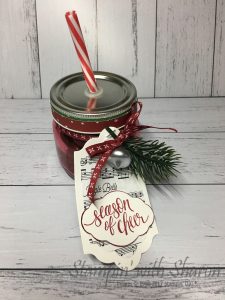
It is a jar with lid from Kmart again and I’ve used the Green Sprig, Mini Ornament, Cherry Cobbler stitched ribbon, Merry Music DSP and added a bit of contrast with the Be Merry DSP around the Lid.


Product List


12 Days of Christmas – Day 7

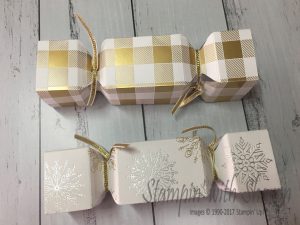
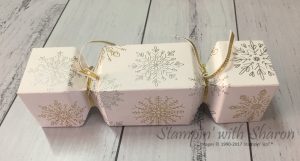
Day 7 brings these cute little bon bons made from the Year with Cheer Specialty Designer Series Paper.

I had a request for some boxes for a Christmas table that would hold 2-3 chocolates.  This is what I found on YouTube.  I love these little boxes so much that I’m going to make some for my Christmas table this year.

These are just two designs of from the Year of Cheer Specialty Designer Series Paper which is on the retiring list till its sold out.


I found a video on how to make these cure bon bons at Intertwyne Designs.  They are so cute and I had to make them.  There is a also a box that she made to fit 4 of these into.


Product List

Bone Folder

$12.00


12 Days of Christmas – Day 5

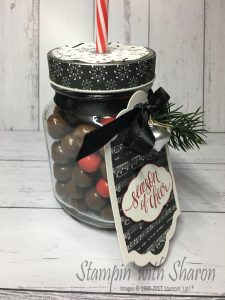
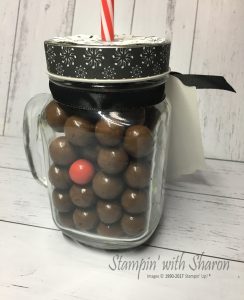
For my Day 5 project I made up a jar with “Reindeer Noses” inside which are Malteasers and Jaffas. Its a cute little project that anyone would love.  A great gift for kids too though maybe a bit too much chocolate.

I’ve used the Merry Music Specialty Designer Series Paper, Green Sprigs, Mini Ornaments & Black Shimmer Ribbon and purchased the glass jar from Kmart.

I’ve listed all the products used at the bottom of this post.

Product List

12 Days of Christmas – Day 4

The 12 Days of Christmas continues with the this gorgeous project.

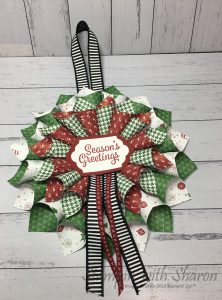
This is a gorgeous paper wreath that I’ve seen on different Facebook pages and so I have made my own to go on my front door.  I just love the colours of Cherry Cobbler & Garden Green together.  They really are great Christmas Colours.  I added the Black Striped Ribbon to add some more contrast and added in the Cherry Cobbler Stitched ribbon.

I have used the sentiment from Snowflake Sentiments and cut it out with the Lots of Labels Framelits.


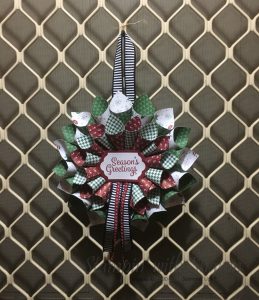
And here is it on my Front Door.  I was concerned that with some of the rain that it may get damaged or with the sun that it will fade but, as my husband said, you can make another next year.  Well why not make another one next year 🙂

I have included a video of how to make this project as well so you can make one at home. Or you can contact me to find out how to make it.


Product List


Trim Your Stocking Thinlits by Stampin’ Up!

Trim Your Stocking Thinlits by Stampin’ Up!

Watch Stampin’ Up! trainer, Holly, show you how to use the Trim Your Stocking Thinlits Die from the 2017 holiday catalogue.


Product List

Bone Folder

$12.00

Children’s Craft Course

Starting today I am holding a Children’s Craft Course in my home. The course is for 7 weeks and will, hopefully, help the the children to be able to work with colours more confidently in the future.

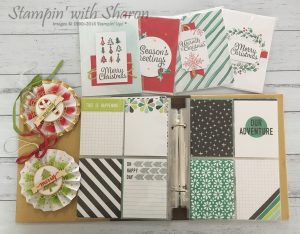
They are going to be making a 6″ x 8″ Scrapbook Album, 8 Christmas cards with envelopes and 2 Christmas Rosette Ornaments.

I have a maximum class size of 6 students as I want to be able to give each student the attention and help that they may need.

I’m really looking forward to the classes each week and hope that each of the children will be more confident in colours and being creative.

Below is what they’ll be creating.
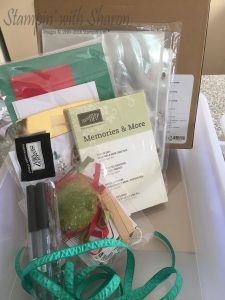
And here is the kit that they’ll receive.
If you’d like to purchase any of these products, you can shop for them online at my shop and have them delivered straight to your door.
Pocketful of Sunshine – Part 2

Continuing on from my last post I wanted to share some more projects that I’ve made to present at Stamp Camp using the Pocketful of Sunshine Bundle.

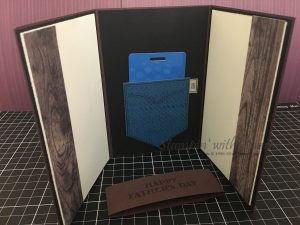
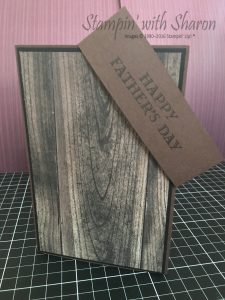
This next project is a gift card holder for Fathers Day.  I made a belly band to hold it closed.  It is fairly simple.

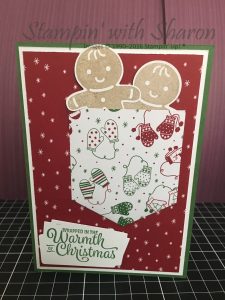
This next project is a christmas card that I made while at Stamp Camp using the pocket framelit.  The sentiment is stamped onto the money shape that is in the framelits dies.  I thought it was a cute way of using it.

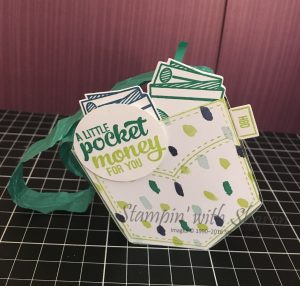
This next project is using the pocket die and I used a 1″ strip of DSP to make it into a pocket and used ribbon as the handle.

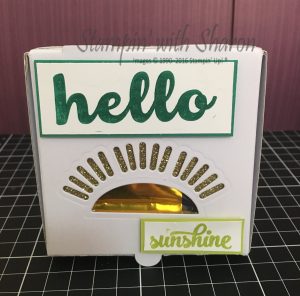
This next project is using the new mini pizza boxes and I used the sun shape to cut out the window with the sun rays.

All of these projects are fairly easy to recreate and if you’d like to make them yourself then get yourself the Pocketful of Sunshine Bundle and get creating.