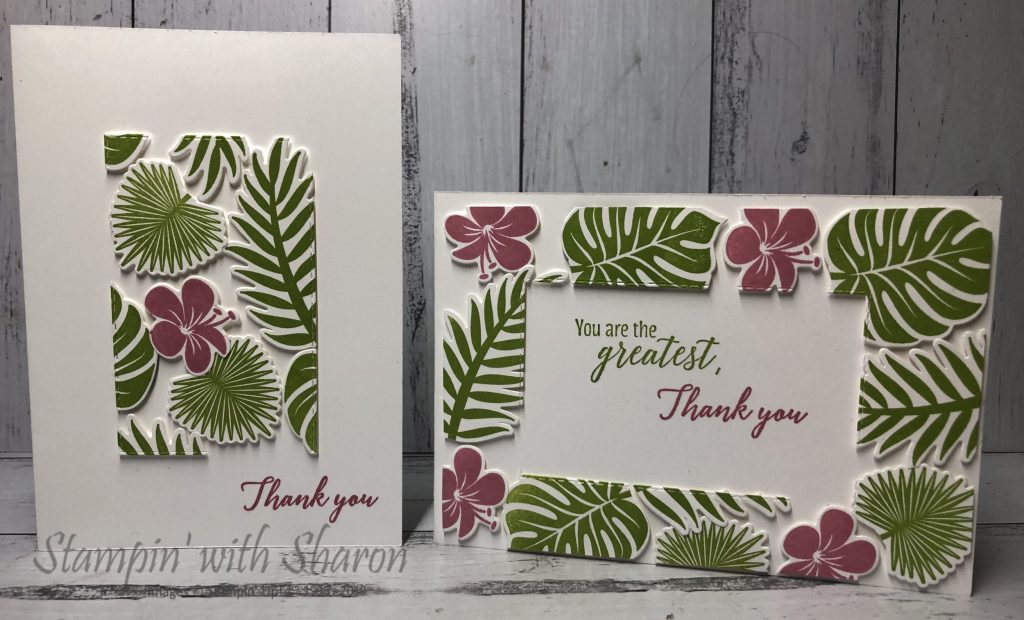
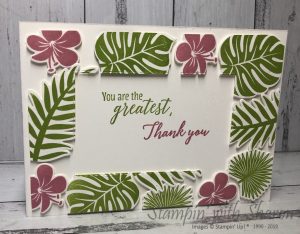
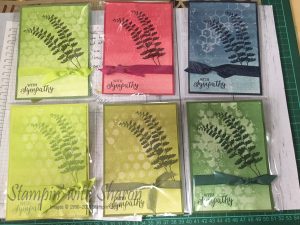
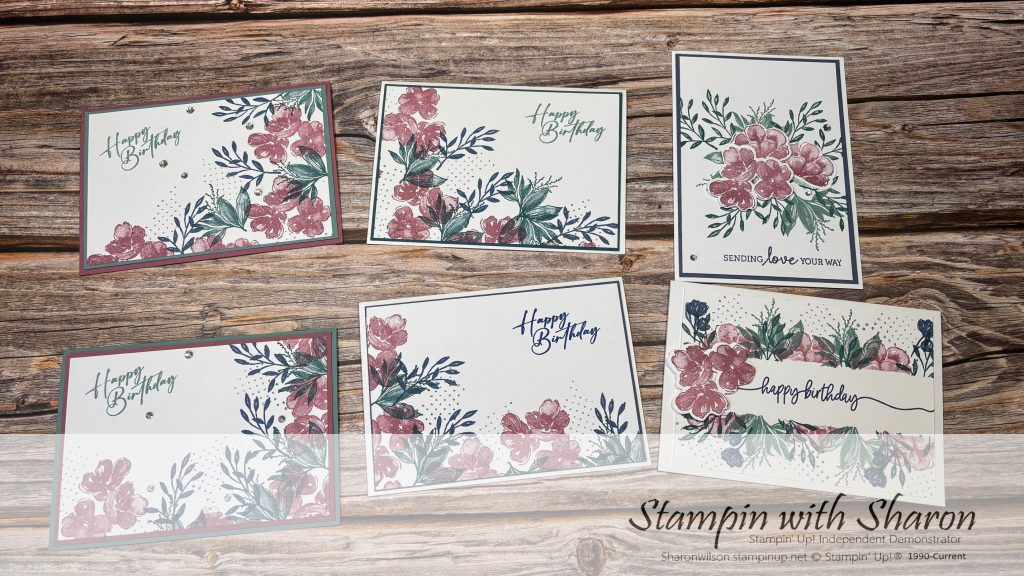
Tropical Chic Floating Frame

When the floating frame technique came out I wasn’t really interested in doing the technique as the main thing to create the technique was very hard to acquire in Australia, but when I found the Press & Seal at Costco I just had to try it out.

I created this card using the Tropical Chic stamp set which I really loved playing with the stamps and dies. I love the colours as well. I used Granny Apple Green & a new In Color Rococo Rose.

The technique I believe was originally created by Jennifer McGuire. This really is a fun technique to play with and I want to try it again but just haven’t had the time. I plan to run it as a class soon too.

Here is a close up of the outside frame

I love that you can get two cards with one technique. Here is the inside part of the frame which creates another lovely card to send to someone dear in your life.

Don’t you just love the green and pink together? I just love these colours.

What do you think? Would you like to try out this technique?

Product List

Beautiful Baubles

I have been creating some cards for a customer and her guests to make at her stamp a stack workshop. Most of these ladies know how to stamp and want to come away with cards that they can send out. So I try to make up some different types of cards with a couple of techniques or tools to use to help with the process of making cards to send their friends and family.

I fell in love with the Beautiful Baubles stamp set and I was lucky enough to receive it as a gift from my upline as a thank you for presenting at our team retreat in August. I needed some inspiration, however, so off I go to find some inspiration on Pinterest and I came across Sam Hammonds babywipe technique. I do love the babywipe technique as it is lots of fun and looks different everytime.

I did change up her card design by layering it onto a Pool Party card base but raising the bauble onto a silver scallop. I nixed the rhinestones and left it fairly simple.

I created another card with the same technique but this time rotated the card to be in Portrait and stamped a different sentiment straight onto the card base. I really like the simplicity of this design.

If you like these cards and would like to make them yourself at home, then click on any of the links below to go straight to my online shop and order your Products for Christmas card making today.

Product List

Big Shot

$159.00

Bone Folder

$12.00

12 Days of Christmas – Day 12

For my final project from my 12 Days of Christmas Series I have the Secret Santa Gift that I made for our Team Christmas Party.


I used the Merry Music Specialty Designer Series papers for my inspiration.  I made a little bonbon and some half bonbons to put product and chocolates in.  I used the labels I’d made on previous projects on the bag and the Jar of Malteasers.  I purchased the little jar from Kmart.

I also make up a little box for some ribbon that uses no adhesive and can fold flat.  The box was originally made by Sam Hammond from Pootles.


This box was originally made by Sam Hammond from Pootles.co.uk

If you’d like to have the opportunity to be a part of a Secret Santa at our Team Christmas Parties then join my ProCRAFTinators Team.

You can join my team by clicking here and find out more about joining Stampin’ Up!


Product List

Bone Folder

$12.00

Jute Twine

$9.75

OnStage Swaps

At every major Stampin’ Up! event we, as demonstrators, have the opportunity to swap ideas with other demonstrators.  We are encouraged to make a card front or 3D item to swap with other demonstrators so we can get some additional ideas.

I was really struggling with ideas this time around but after a great chat with one of my downlines I was inspired by re-using one of my ideas that I’d used previously as a demonstration.

So I made these card fronts as my swap using numerous colours.  I used the Faux Bleaching Technique.  I started by sponge braying ink onto the card stock in an ombre look.  I then spritzed the hexagon embossing folder with water and then placed the card stock with ink facing down onto the embossing folder.  Take the card stock off and you should see that the water has taken off the ink in the wet places.  Let it dry and then stamp another image over the top in a darker ink.

You can purchase all the products to make these cards at my online shop.